Audio filters are one of the most essential tricks in the producer’s toolkit. When used efficiently, they can provide clarity and space to your mix.
However, it can be easy to over-complicate the use of filters and get lost in the terms.
In this guide, we’ll tackle:
- What an audio filter is
- The basic parameters of a filter
- The different types of filters and when to use them
- 3 secret tips to push your sounds to the next level
Let’s dive in! 👇
Simplify your mixing with our Free EQ Cheat Sheet
Get our one-page guide containing everything you need to know about frequency ranges, curve types, and more (without the useless information).
What Is An Audio Filter
Chances are you’ve heard of what EQ (or equalization) is. In a nutshell, a filter is simply a predefined way of applying a certain EQ shape to your sound.
By either reducing or boosting a certain frequency region, you can shape individual sounds to your liking.
The way you boost or reduce specific frequencies will determine the name of the filter, as we’ll explore in this guide.
One reason to apply filters to your sounds is that you can easily adjust them dynamically to make your sounds evolve over time. Instead of having a static frequency spectrum playing, you are adjusting in real-time the frequencies coming through for creative purposes.
Nowadays, filters have become a cornerstone of music production. Every DAW from FL Studio to Ableton Live has its own stock plugin for this purpose. There are also some famous third-party filter plugins which we’ll explore through some examples.
The thing to remember is that filters are simply a specific application of EQ’ing. Therefore, most parameters used to EQ also apply for filters.
The Basic Parameters Of A Filter
Although a refresher never hurts, feel free to skip this section if you’re a Jedi of EQ’ing. Much of the controls are the same.
Cutoff
Sometimes simply called Frequency in some plugins, this sets the frequency point around which the filter will be applied.
Resonance
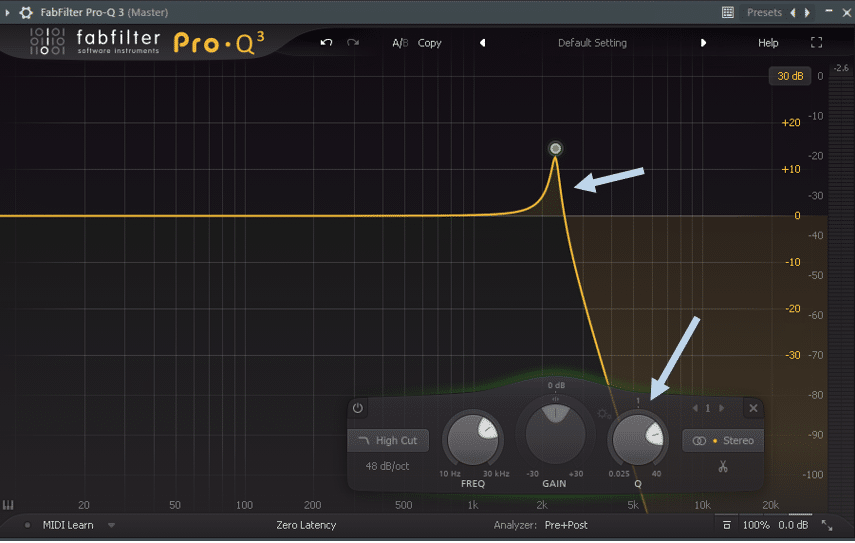
The Resonance parameter also called Q or Bandwidth, defines the emphasis of the frequencies around the cutoff point.
Setting the Q point too high can create unpleasant frequency resonances, so pay extra attention to this setting.
Slope
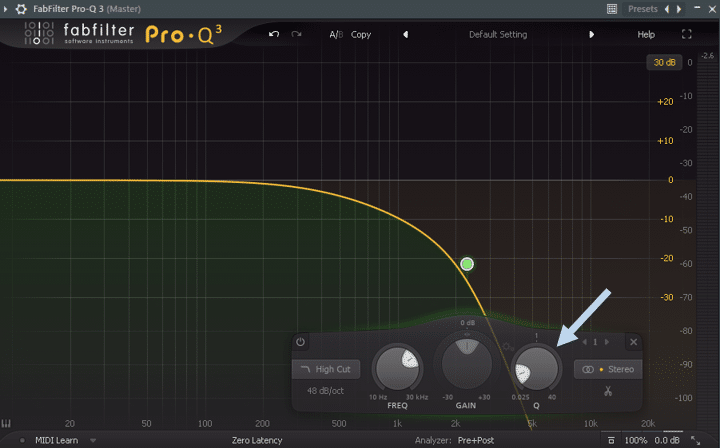
The Slope determines the steepness of the current audio filter type. A steep slope will abruptly boost or remove frequencies, while a gentle slope will be more progressive.
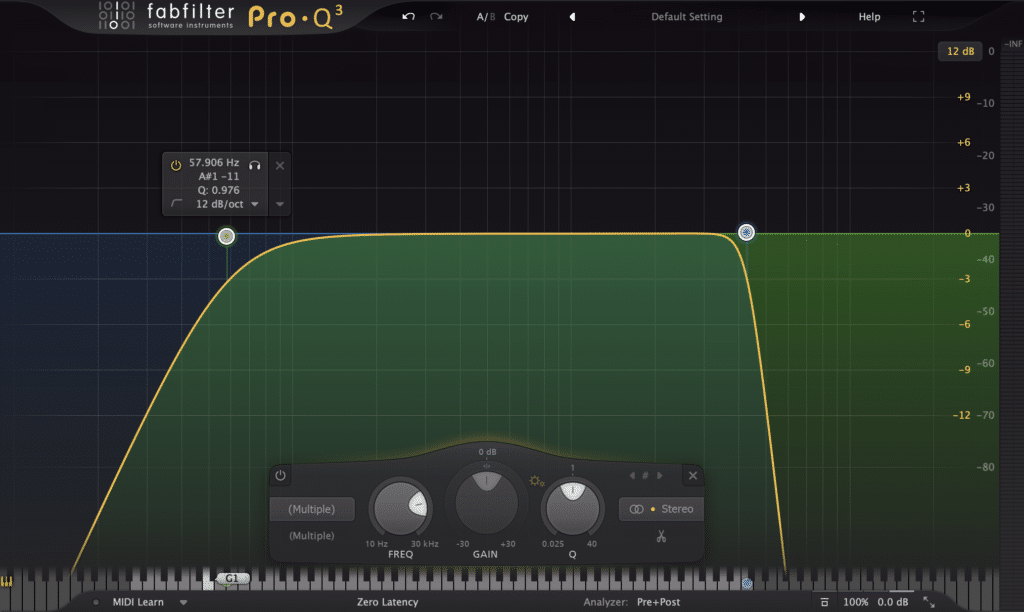
Stereo Placement
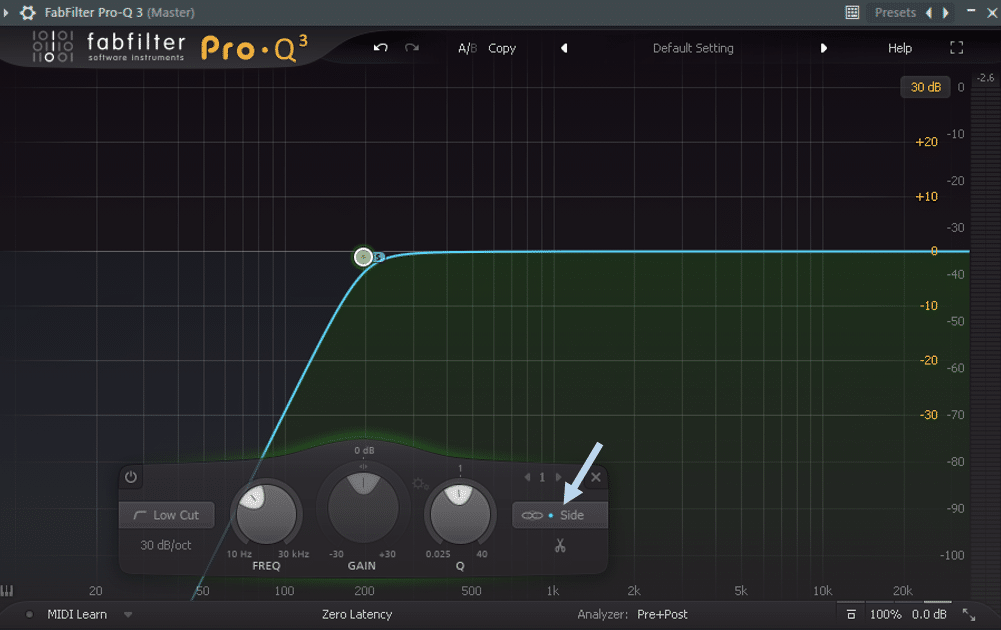
Finally, some plugins allow you to apply a filter to only selected channels. This is ideal if you only want to affect the side or mid information of your signal.
In the famous FabFilter Pro-Q 3, you can choose to selectively apply your filter to the L/R channel, Mid, Side, or Stereo information of your signal.
If you need to brush up on all things mid, side, and stereo imaging, make sure to check out our latest guide here!
Different Types of Audio Filters
As explained above, an audio filter is based on a given EQ shape that will boost or remove frequencies.
The chosen shape then gives its name to the filter. Let’s explore the most commonly used ones, and how you can apply them to your music.
Low-Pass Filter
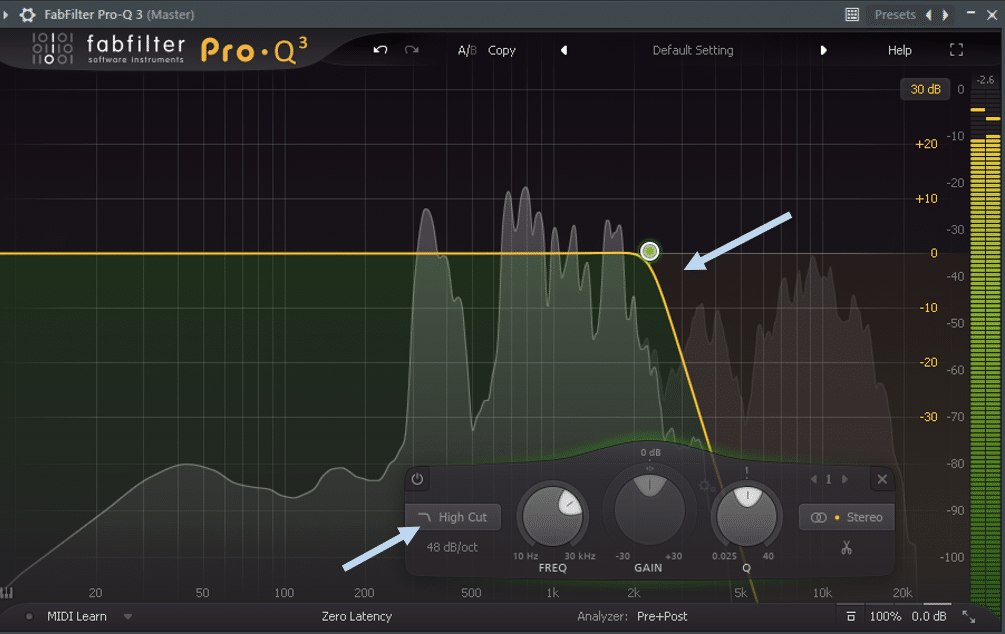
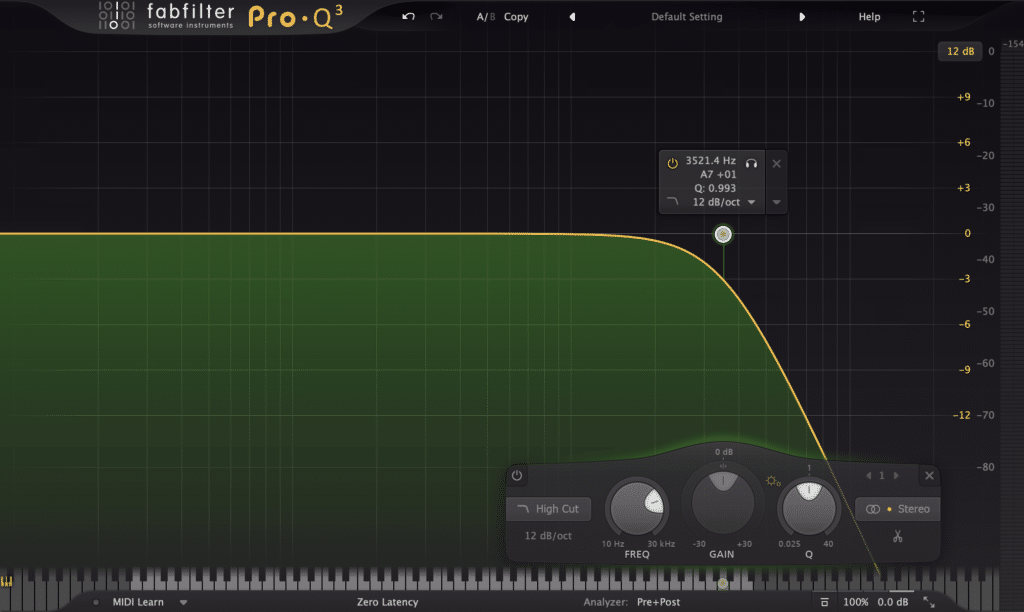
A low-pass filter will, as the name suggests, let through frequencies below the cutoff point.
It is worth noting here that the terminology can sometimes be confusing. A low-pass filter is also called a high-cut filter – both remove frequencies above a certain cutoff.
A low-pass filter can be used for elements that are too bright in your mix. For example, I like to layer my pads to create rich atmospheres.
In that case, I might apply a low-pass to one pad to remove the high frequencies, while retaining the full spectrum of the second pad.
Similarly, a low-pass can turn your pads from bright and colorful to deep and gloomy. Listen to the difference a simple low-pass filter brings to this loop:
Low-passes are also used quite a lot in sound design, since modulating them can create cool wobble and motion effects.
High-Pass Filter
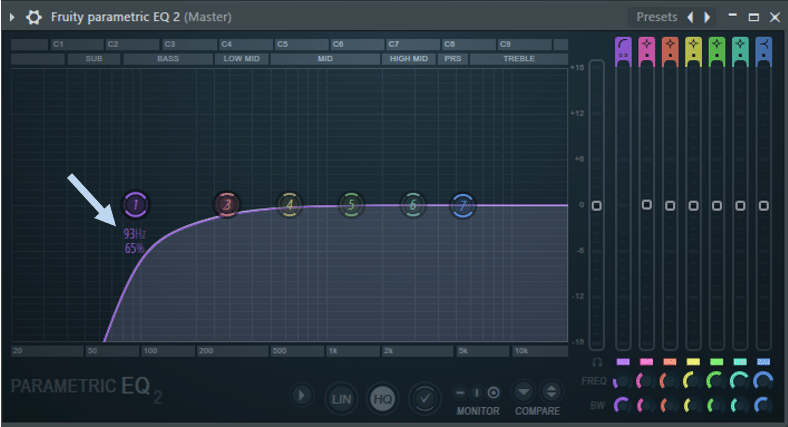
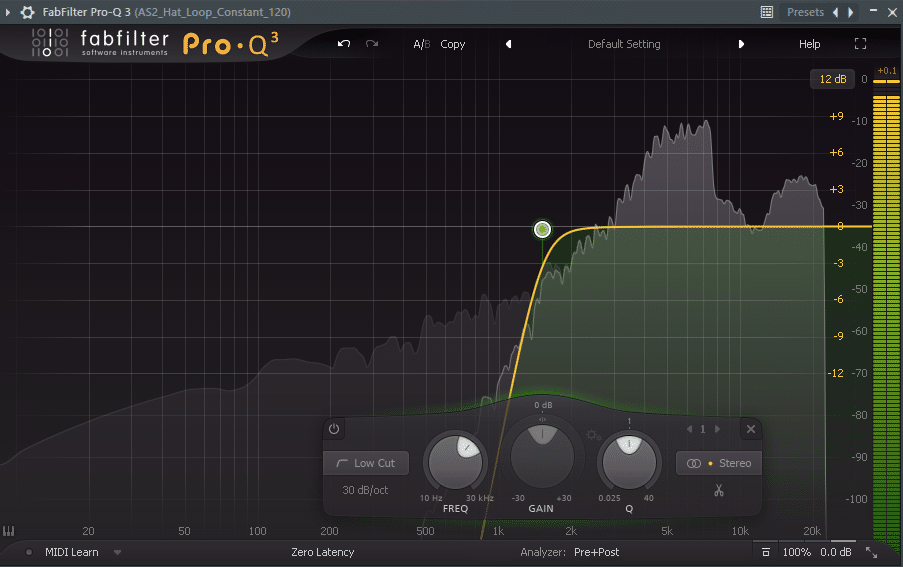
On the other hand, a high-pass (or low-cut) filter will remove frequencies below a given threshold.
For many producers, this has become a go-to step to give clarity to the mix. Low-cutting most elements except your kick and sub-bass between 60 Hz and 120 Hz will help tighten up the low-end.
However, beware of applying too many high-pass filters. Consistently removing the low-end from your sounds can remove their body and punch.
I will generally high-pass my hats, shakers, and other cymbal elements that might have unnecessary low-end information.
This will often happen after applying saturation and introducing new frequencies (for the A-to-Z on saturation and distortion, check out our Complete Guide here).
Similarly, a high-pass filter can be a great way to isolate specific elements from a loop.
Band-Pass Filter
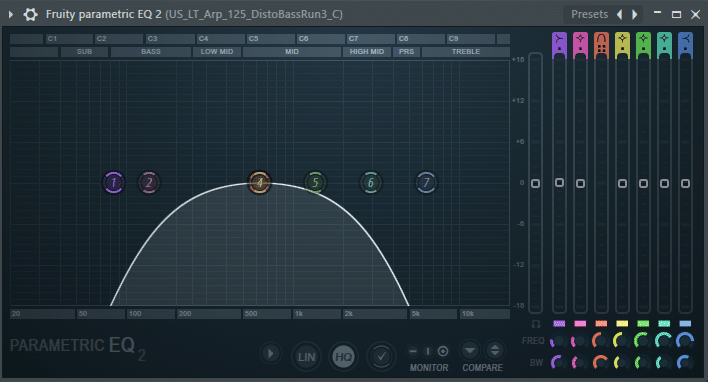
A band-pass audio filter is simply the combination of both a low-pass and a high-pass.
One common application of a band-pass filter is the telephone effect. This is achieved by setting the center frequency around 2000 Hz as such:
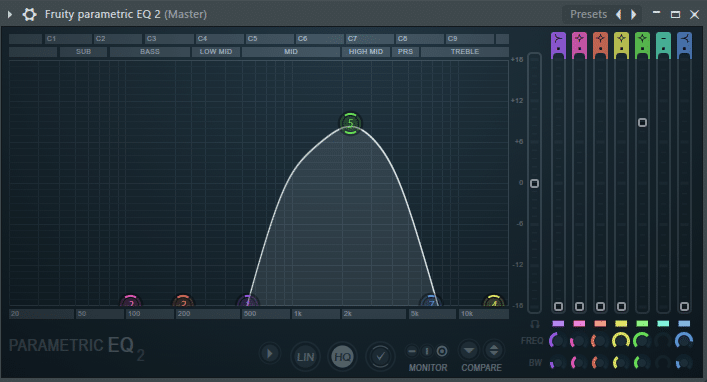
Let’s listen to how this band-pass filter affects the sound:
Shelf Filter
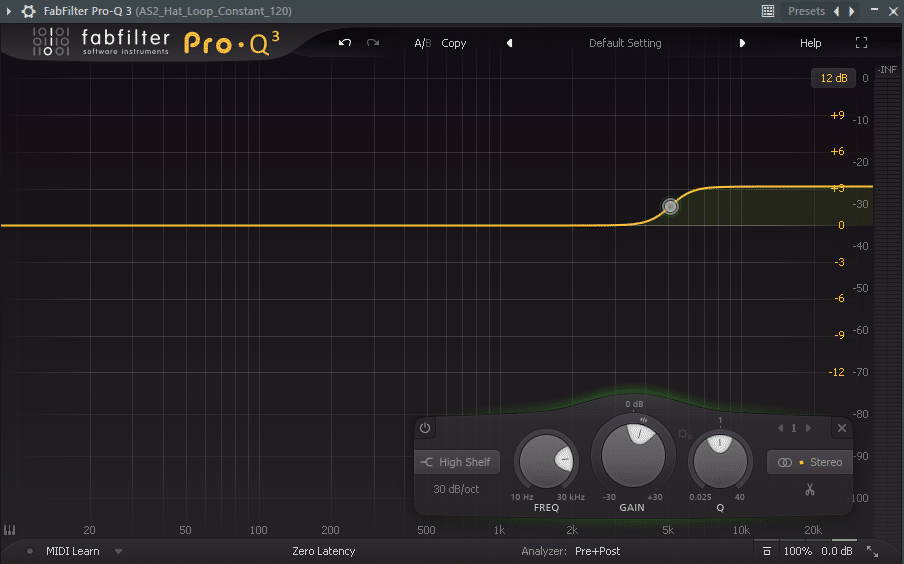
If high-cutting or low-cutting is too drastic, a shelf filter might be a better option. It essentially sets a flat “shelf” after which the frequencies are either boosted or attenuated.
I often set a gentle +2db high shelf to my drum bus to bring out a bit of brightness in the tops.
Applying a top shelf to vocals is also a great way to add that little bit extra clarity. Listen to how the vocal peaks out just a bit more in this example:
Notch Filters
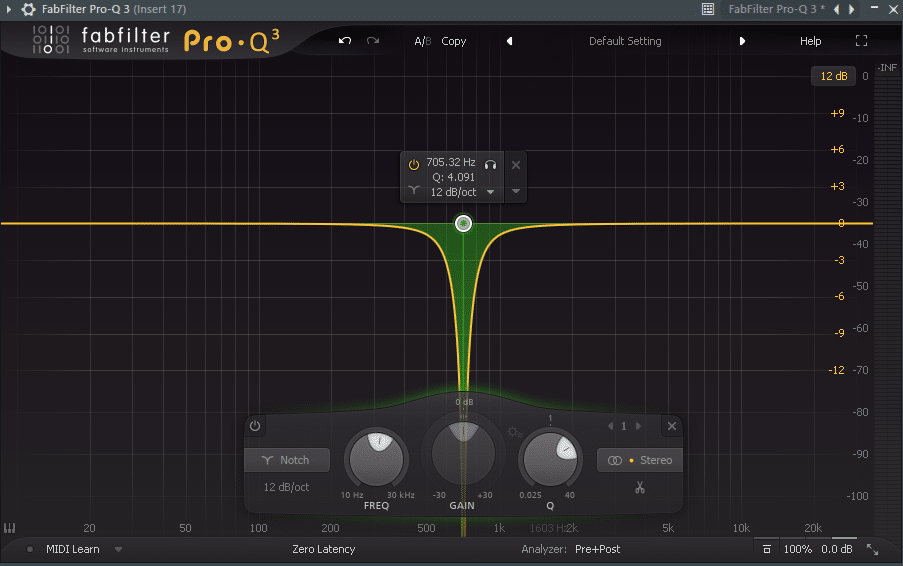
Finally, notch filters (also called a band-reject or a band-stop) are the opposite of band-pass filters:
Notches are ideally suited to remove any annoying or resonating frequencies.
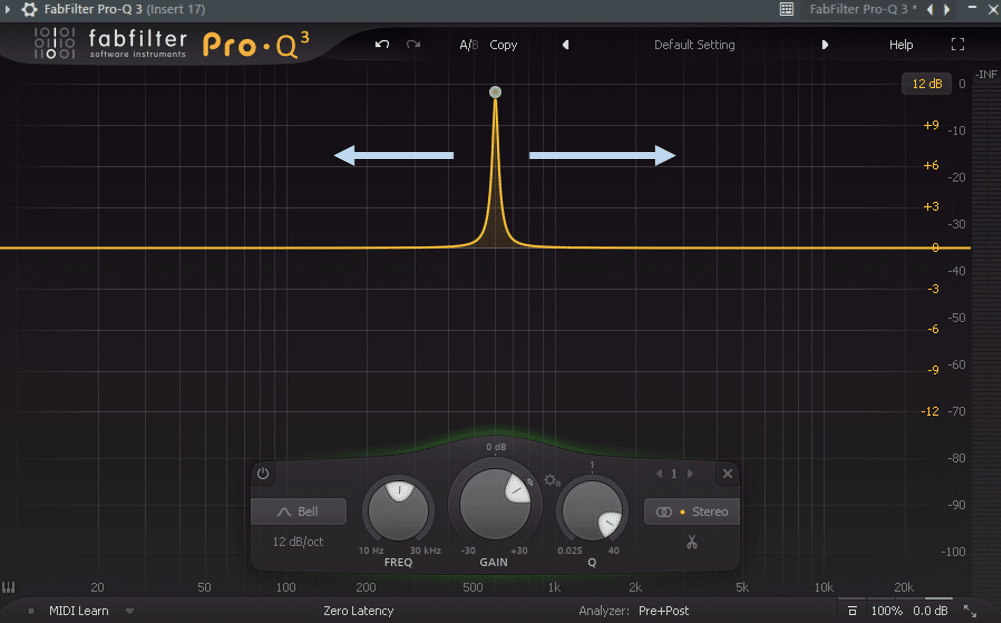
A great way to do this is to sweep the frequency spectrum with a steep bell-shaped EQ to isolate frequencies.
Once a sharp resonating frequency pokes out, switch to a notch filter and cut that frequency out.
Again, notch filters can also be used to create cool sound design effects, especially when designing basses. The ‘gap’ created sounds particularly cool when you move the cutoff.
Simplify your mixing with our Free EQ Cheat Sheet
Get our one-page guide containing everything you need to know about frequency ranges, curve types, and more (without the useless information).
3 Creative Applications of Audio Filters
There are thousands of ways you could apply audio filters creatively.
As explained previously, a key advantage of filters is the ability to adjust them over time.
Here are 3 tried and tested applications guaranteed to bring you amazing results:
Introduce New Elements Seamlessly
Introducing a new element into your arrangement can prove tricky. Sometimes, fading in doesn’t quite cut it.
This is where a low-pass can prove to be handy. By automating the cutoff and slowly revealing more frequencies, the transition will sound much more natural.
For this, I used FL Studio’s stock plugin Fruity Filter set to low-pass, with a relatively low resonance. I then automated the cutoff frequency to slowly reveal the entire spectrum of the new sound:
In Ableton Live, you can achieve a similar result with Auto filter.
This technique can work with all genres. However, it is especially well suited for genres with slow progressions such as house and techno.
The Gate Filter
The gating effect is a popular sound that came to prominence in genres such as trance and has been resurrected in modern techno.
A common way to create the gate effect is by simply automating the volume up and down.
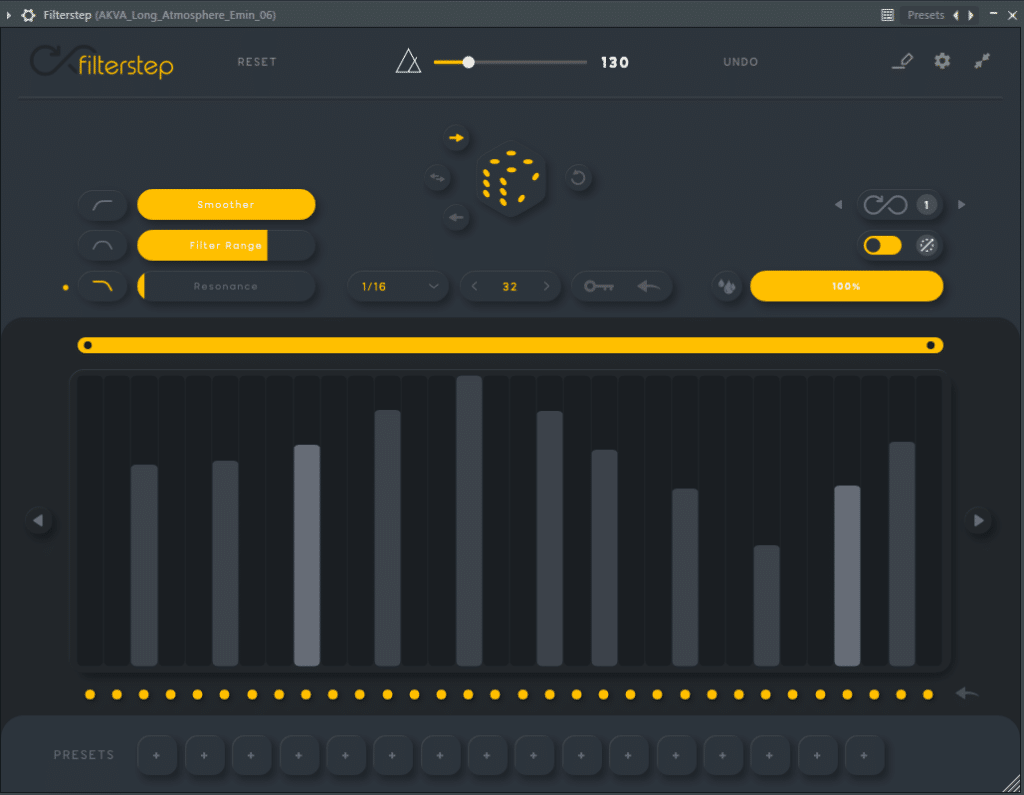
However, you can use a filter instead. For this, I love to use the free plugin Filterstep.
For a free plugin, Filterstep is quite remarkable. It allows you to draw in specific sequences which will determine on which notes the filter is applied.
In the above example, I have selected a low-pass filter, divided the audio into 16th-notes, and drawn in the amount of filtering to be applied on certain notes.
Let’s listen to what this sounds like, first without any gate effect, then applying the above settings:
You can also add a bit of reverb and sidechain it to fill in the blanks and make the gate smoother. The possibilities with Filterstep are quite extensive, and I’d really recommend giving it a try.
Recommended: Free VST Plugins – The 51 Best Synths & Effects
Creating Effective Buildups
Last but not least, filters are a great way to build anticipation in your tracks. Typically, the 4 to 16 bars preceding your drop should let the listener know something big is about to happen.
You’ve surely heard the phrase “let the bass drop!”. That’s because there shouldn’t be any bass playing right before your drop!
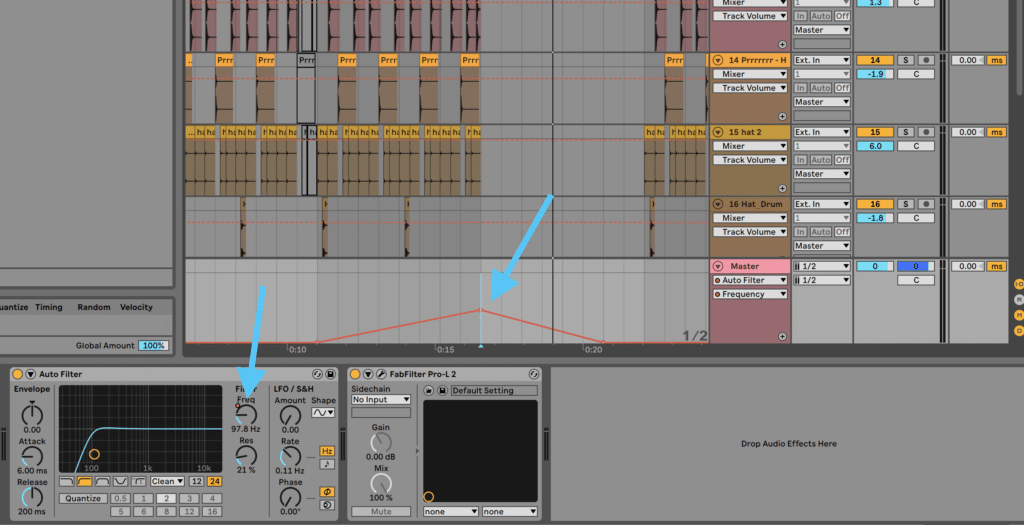
Low-cutting your entire track as the drop approaches is a great way to give your drop more punch.
You can even go a step further. You can gradually low-cut the side signal of your master track as the drop approaches. This will leave you with an increasingly mono signal as the drop approaches.
When the drop eventually… drops, de-activate both low-cuts. This will bring back both the bass and all the stereo information, making for a more impactful drop.
Last Words
Hopefully, you will now have a better grasp of audio filters and how to apply them in your own productions. As always, remember to experiment and break the rules to discover new cool sounds!
Simplify your mixing with our Free EQ Cheat Sheet
Get our one-page guide containing everything you need to know about frequency ranges, curve types, and more (without the useless information).
And remember to grab that EQ cheat sheet! 👆


