Any electronic music producer wants a full-sounding mixdown.
One that is not only club-ready, but also sounds great on streaming platforms like Spotify and Apple Music.
But a full mixdown is easier said than done.
So, how do you actually achieve a full mixdown? By what I call ‘thinking like a compressor’.
So what does that mean? We’ll cover exactly that in this article, as well as:
- What a compressor does and a better way to achieve the same effect.
- The most important mixing tool in your arsenal (you already have it).
- How to get clean and full mixdowns with minimal need for third-party plugins.
- Why you shouldn’t rely on mastering or buss processing to fix a bad mix.
- When glue compression can help a mix (once it’s already good).
Let’s get into it.
How A Compressor Fixes a Mix
You might read ‘thinking like a compressor’ and ask yourself:
What does a compressor even do?
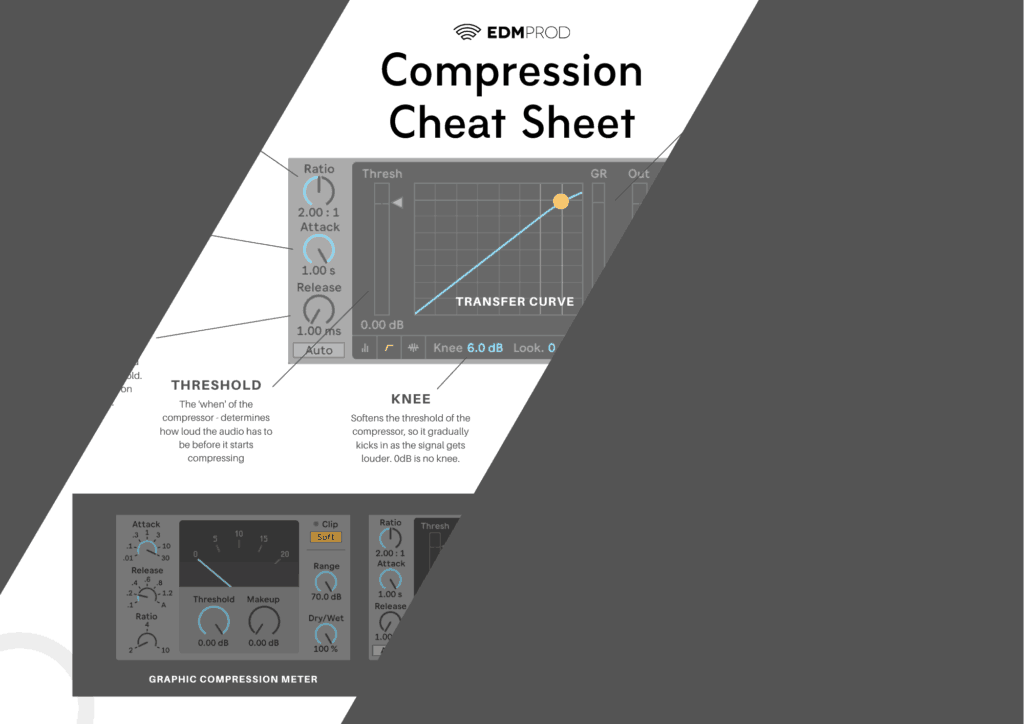
If you’re not aware, we not only have a detailed guide you can check out, but we have a Compression Cheat Sheet that you can grab for free.
However, in short, a compressor makes the quiet parts of audio louder and/or the loud parts quieter, by a type of volume automation. These split into two types of compression:
- Downward Compression: makes the loud parts quieter
- Upward Compression: makes the quiet parts louder
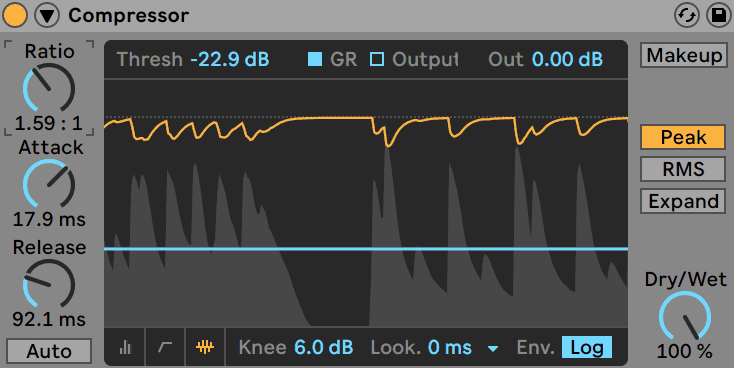
As a result, we get what’s called ‘dynamic range reduction’. This gives us more consistent audio loudness, allowing for much louder and fuller mixes.
We can compensate for this with makeup gain. This increases or decreases the output volume so that the resulting sound ‘feels’ the same as it did before the compressor. Except now it’s more consistent and controlled.
We turn part of the sound down, so we can turn it up overall, and get a nice, fat waveform.
So problem solved right? Just slap a compressor on the mix/master bus and it will fix your mix, making it loud, full and fat.
Not quite. Why?
Because compressors are pretty dumb.
Firstly, they can’t see what’s going to come into them before they have to start applying compression, so they are very reactionary, and can often make the audio sound ‘squashed’ and unnatural as a result. Especially when using it on a buss or group of instruments.
Even then, most can’t react differently to different incoming audio – it treats everything by the same set of ‘rules’. So what sounds great at one part of the track might sound horrible later on.
Lastly, they change the natural dynamics of instruments and sounds, without regard of knowledge of how something ‘should’ sound.
So compressors aren’t always the answer. Then what’s the alternative?
The Most Effective Mixing Tool for Full Mixdowns
There’s something more fundamental you can use to get a ‘compressed’ mix without sacrificing your natural sound.
It’s something that you’ve already got built-in to your DAW, and it’s one of the most simple tools you can use.
The volume faders.
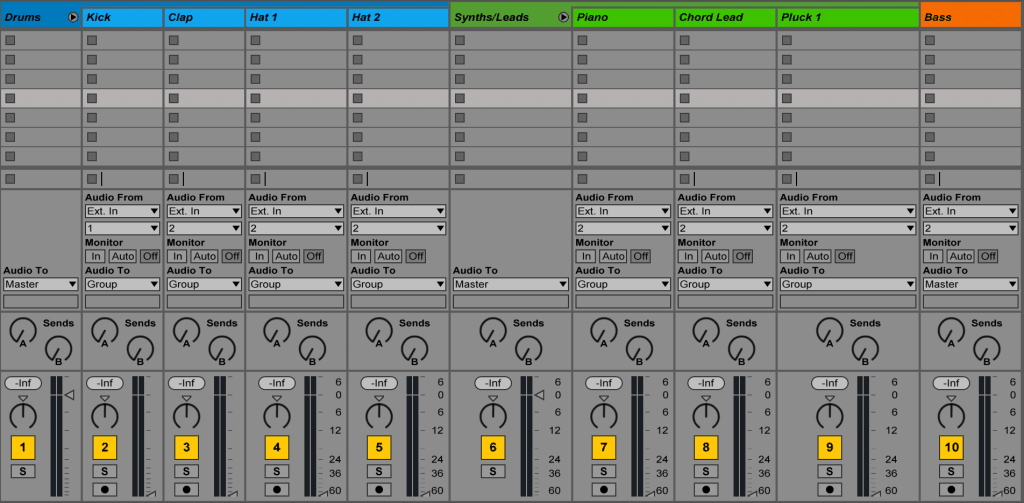
Yep – you can get an amazing-sounding mixdown by just using volume control.
When I first did a fader-only mixdown – it blew my mind how much difference it made, and I still attribute it as one of the key things that turned my mixes around.
The reason is that, when we control the volume on an individual level, things remain natural-sounding, but we are changing the relative volume to other sounds in the mix.
Something louder or quieter does not sound weird the human ear, but over-compression is very obvious.
But Aden, I’ve used volume faders before and they haven’t fixed anything. I always mix as I go with them!
Of course you’ve used volume faders before, but not like this.
It’s easy to get swept up in EQ, compression and all manner of third-party plugins in order to make our mixes sound great.
And by the time we’ve slapped on an insane amount of complex effects (that we really don’t know how to use), our mixes sound weird and we pretend we don’t know why.
But we think faders don’t actually make much of a difference. They’re little things we fix at the end, or little things we change as we go, but they’re not important.
Except they are. Let’s see how.
Applying Compression Techniques to Fader Adjustment
So knowing that faders are the cleanest and most effective tool for a full mixdown, how exactly do we go about tweaking them?
Likely, you’ll adjust them early on in the production phase to get a very rough mix, but you’re not thinking about the end result until you get to the proper mixdown phase.
This is where ‘thinking like a compressor’ comes in.
You treat the volume faders like you would a compressor.
You can turn the quiet sounds up, and the loud sounds down.
It’s so simple, but often the reason our mixes lack the ‘glue’ of pro-level ones is because there’s no ‘volume coherence’.
We don’t realize that our snare is actually 3dB louder than it ought to be, and that turning it down would actually make your mix louder.
How the hell does turning something down make my mix louder?!
Because you can then bring up the volume of everything in relation to it. So your snare can still punch through at the same volume, but now everything else in the mix is there to back it up.
That process of turning something down and compensating by turning everything up after is exactly how compression works. Sometimes it’s tiny 0.5dB movements, but sometimes it’s massive changes of 6dB and up.
That how you ‘think like a compressor’.
Turn Down Before Turning Up
The problem with volume is that it’s relative to the loudness of the other sounds in the mix – up to a certain point.
Then, once a mix is too loud, you lose headroom and get clipping.
For this reason, it’s worth noting that turning down the loud elements is better than turning up the quiet ones. It’s a great workflow habit to get into and it will save you time down the track.
It’s the same reason we recommend reductive EQ before additive EQ.
Besides, if you lose overall volume, you can just turn the whole mix up by selecting all of the faders and increasing the output volume of each.
And if you’re struggling to find an absolute reference point for overall volume, use a reference track.
Examples
Now we’ll dive into a few examples of ‘thinking like a compressor’ in action.
Drums
As we’ve discussed, drums are a great example of where certain hits or one-shots can poke through and give our mix a very ‘sparse’ feeling.

In this audio example, notice what makes the loop sound odd.
If you said the kick or the hi-hat – you’d be right. They are way louder than the rest of the drum mix and detract from the sound of the loop.
Let’s bring the snare down by 3dB and the hi-hat by 5dB, and then let’s bring the whole mix up by 3dB to compensate.
Synths
Synths and non-percussive instruments are harder because they don’t always have the same consistent level of volume, and they don’t have clear transients a lot of the time.
So when listening to synths, make sure you’re looping a longer portion of the mix so you can note down any changes.

Listen to this synths buss and listen out for any issues.
When listening, I noticed that the string sound on top is far too loud, and the arp in the background is very quiet. So I brought the string down 9dB and the arp up 4dB. The result is a much more consistent sound.
The main chords/pad acts as a reference point here, but of course, you may need to adjust the overall volume of everything as a result.
Recommended: How To Avoid The 8-Bar Loop Trap
Don’t Throw Away Your Compressors!
With all this being said, you might be tempted to think that compression is no longer necessary.
And in some cases, that may actually be true. Only compress when it’s going to fix or improve something.
But don’t drag your plugins to the trash just yet.
The reality is that compressors (especially on your master or certain buss groups) can further improve the ‘glue’ effect, except you’re not relying on it to get 100% of the sound.
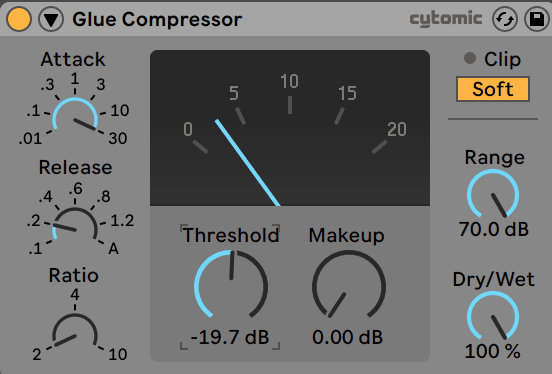
You’re just making something that already sounds great, sound even better.
Because as the end of the day, mixing does not have a silver bullet that you can use to magically make everything slap. It’s the little things at each stage that slowly take a mix from average to incredible. And the earlier the stage, the more important.
And on that note, if you do want to start learning how a compressor works, then make sure to get our free Compression Cheat Sheet below.
And that’s it – I hope this article showed you how to get full mixdowns!
Any questions or something I missed? Hit me up at [email protected].
Recommended: 50 Practical Mixdown Tips

